Any time there’s a stretch of cold weather we usually receive a fresh batch of calls and emails about concerns related to cold-weather applications.
So, now is a great time to remind everyone that water based coatings are typically more sensitive to cold weather than those based on oil or other solvents and extra attention should be paid to making some adjustments to your finishing process to keep your projects on schedule and delivered with the highest quality.
Water based coatings dry by evaporation of water and co-solvents in the first phase, and the coalescence of certain components in the formula to form a final film in the second phase.
Warmer temperatures during the first phase can mean faster recoat times, and warmer temperatures and low humidity during the early part of the second phase can mean a harder final film and better overall appearance of the finish.
So, what do you do when you’re using a water based coating, but faced with cold weather, a cool shop, and projects that still need to get out the door on time?
Fortunately, we have some advice that can help you manage these temperature drops and help you get your jobs done on time with consistent quality.
Using water based lacquers, conversion varnishes, and polyurethanes, like the ones we sell here at Target Coatings, means you can do things with ventilation air and auxiliary heating that would otherwise be quite difficult and often very expensive when working with oil- and solvent-based products.
We are going to focus on two main factors: 1. Shop/Spray Booth Conditions (or Air Temperature and Humidity), and 2. Product and Project Temperature.
Part 1: Shop/Spray Booth Conditions
Let’s be real here: ideally, the temperature in your shop during application would not dip below 68° F and, if possible, would remain in the low 70s.
I know many of you are going to cringe at these numbers because heat costs money and to keep your shop warm and maintain a consistent air temperature in the 70s can be expensive.
Can you dip below this number while spray applying due to air ventilation of the booth? Sure, no problem.
Can the temperature be cooler during the drying stage? Also, probably fine down to 60° F.
However, if you want to be able to recoat your projects within our guidelines and you need that final film to be dry enough to wrap up for your customer in a reasonable time frame, I suggest you consider a plan that aims to warm up the spray booth and drying area.
For a midsize to large shop that has a booth running more often than not during the day, recycling your ventilation air is a great way to prevent rapid heat loss in the booth and surrounding areas.
Thanks to HAPs free and low VOC formulations from Target Coatings’ products, air scrubbing for this kind of recycling is a lot easier and more cost effective than with other solvents.
With minimal cost for filtration and proper venting, you can create a system that captures most of your vented air and sends it back into your spray area making it very easy and much cheaper to heat your space and keep your shop warm.
What about a smaller space where you don’t need to constantly run the ventilation fan?
The great thing about water based coatings is that you don’t need to worry about them as a fire hazard.
This means having some auxiliary heaters running to boost your heat during and after spray application is no problem at all.
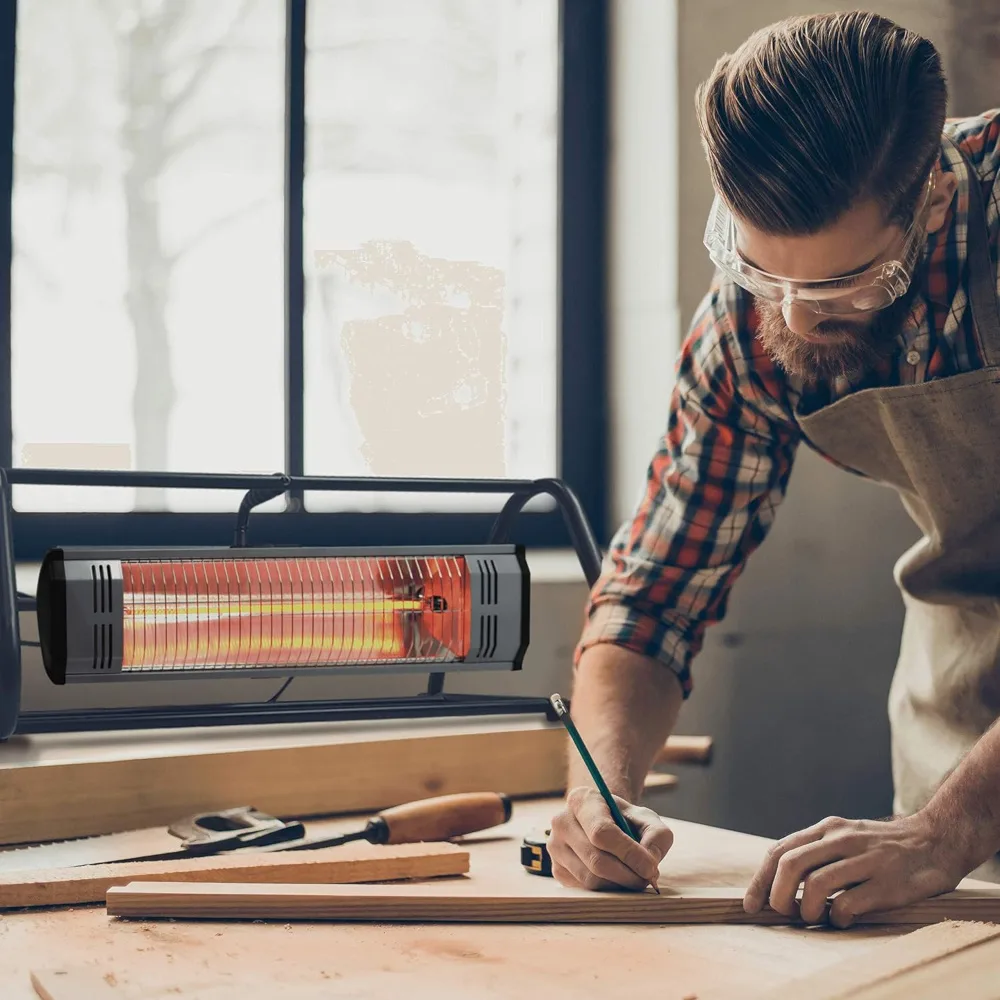
Small infrared heaters are fairly inexpensive and heat up quickly and efficiently. They can easily take up the slack in a small to midsize space to keep your shop warm and dry during down time between spraying.
Even large finishing operations can benefit tremendously by running some heaters and circulating fans in their drying rooms to keep warm air circulating through the space resulting in faster dry times.
Usually, colder temperatures mean dry atmospheric conditions, but this is not always the case.
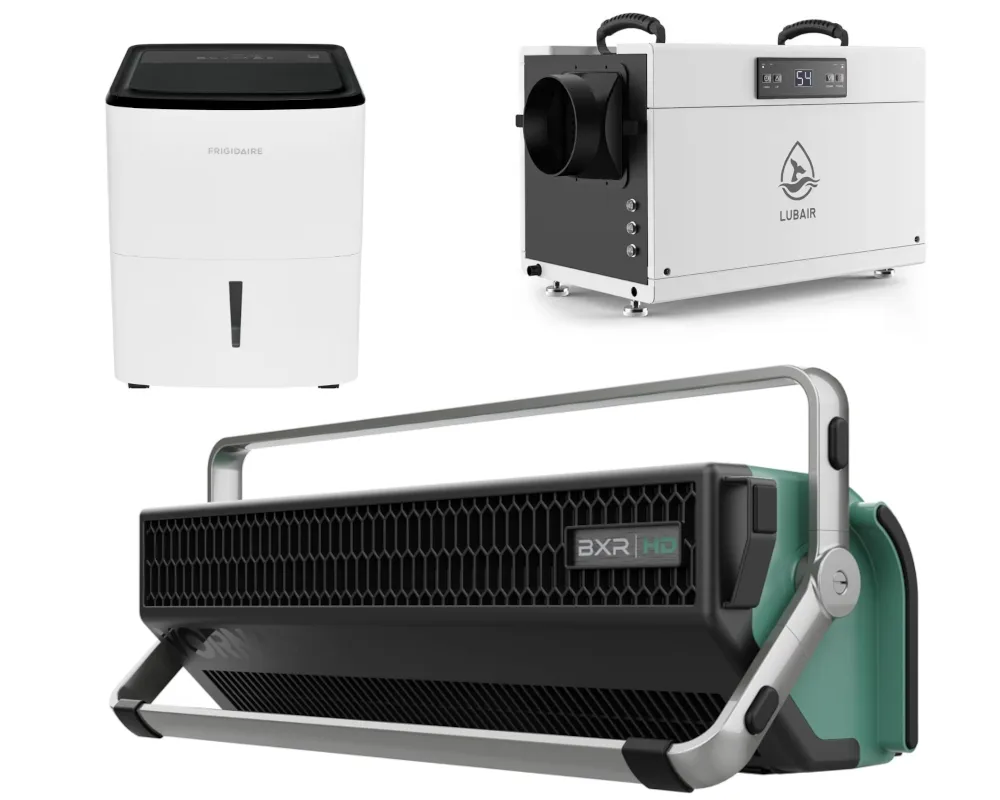
If your humidity tends to be higher than 50% in your area during colder temperatures, I would recommend you consider purchasing a dehumidifier, especially in your drying area.
Dropping the humidity can allow for faster evaporation of the coalescing solvents and keep your recoat and curing times on schedule.
While a circulating fan might not be ideal during the initial drying phase due to the kicking up of dust in the area, consider using a small circulating fan during the secondary drying phase and overnight.
Small fans can keep air moving in the shop, refreshing stale air lingering around your projects. Just like a convection oven will bake a cake faster, so will a heater and fan in your shop harden up that film faster.
As a final note, I would like to point out that if you have to make the operational choice between warming your spray booth vs. warming your drying/curing area, I highly recommend that you focus on the drying/curing area.
As long as you can keep warm and dry air slowly circulating over drying parts and projects, you will be able to maintain a reasonable finishing production schedule.
Please remember that a minimum spray application temperature for our coatings is above 50° F and above 65° F for a CL100 Crosslinker-enhanced coating.
That’s it for Part 1. Now, let’s jump into…
PART 2: Product and Project Considerations
I think many finishers forget or underestimate the importance of temperature as it relates to the product you’re using and the project you plan to apply the product to.
In an effort to conserve heat, we may allow our shops to get much colder at times when we are not physically in the shop. We forget or don’t take into account that often the storage of our coatings and all our projects are in this space as well.

So, we start early in the morning and crank up the heat. The air temperature moves quickly to a warmer temperature BUT everything else in that space, including our coatings and projects, take much longer to assume the ambient temperature of the room.
For example, if the temperature of your coating is 50-60° F in the bucket, and your project is a wood substrate that sat overnight in a 50-60° space, even though your air temperature is 70°, the coating and surface temperature will slow down the drying process.
Your air temperature will encourage a rapid evaporation of the water from the surface of the coating, but the cooler substrate temperature will keep the coating cooler than air temperature and dramatically slow down the second phase of the drying process.
This problem compounds if, in the evening when you’re finished spraying, you allow the shop to cool down again. Even though the surface film has dried to the touch, the secondary drying stage is slowed down further as the air temperature cools and drags the temperature of the project and coating down into cooler temperature ranges.
Again, we can counteract this with a little forward thinking and planning:
We already are working to keep our shop space warm during the application process, so it’s easy to keep that space warm before we are ready to begin spraying our projects.
If you shut down the heat for a long weekend, but you’ll be ready to spray first thing Monday morning, consider bumping the heat up to your application temperatures on Sunday afternoon or evening. This will give adequate time for the coating and all your projects to warm up and be ready for your spray schedule.
What if you have a warm drying area, but your booth is cool from the ventilation requirements?
There are many nifty items on the market today like a warming blanket from Powerblanket (photo below) which can warm up a bucket of product and keep the temperature maintained in that range.
A less costly, and readily available option is to place a heating pad (you know, the one we all use for our lower backs) under or around the gallon or 5 gallon unit, turned to a mid-level temperature to warm the coating inside the container.
Last, but not least, when spraying only a small volume of coating, say 600ml, measure the amount of coating you plan to spray and warm it in a separate container that is partially submerged in warm water (minimum of 100 degrees F.) This is the old-school “baby bottle in the bath” trick, and for small volumes it warms like a charm.
This can be incredibly useful especially when using our CL100 CrossLinker. While application temperature can be a little cooler, ideally a coating with this additive is kept at 70° or above for optimum drying and final curing. A warming blanket can keep your product warm and ready to spray when you need it, reducing the time it is in the cool zone and speeding up cure times.
As a word of caution – NEVER microwave your coatings. They should only be warmed by using indirect methods of heat transfer.
As you can see, with some careful thinking and planning you can make some necessary cost effective purchases and minor adjustments to your finishing process during these cold winter months to keep you on schedule and with the same quality you expect during the warmer seasons.
Do you have any experiences, comments or questions about the “cold” and how it affects your finishing?
Please share your thoughts or read what others are saying in the comments section below.
Or if you have any further questions about how to make a finishing process work for you in colder weather, please contact us and we will be happy to assist you with additional information.
Seth Kline has been a woodworker, wood finisher and business owner for the past 25 years. After helping grow his family’s home remodeling firm — Roy B Kline & Son — both as a craftsman and business operator, in 2013 Seth became the co-owner, lead woodworker, and shop manager of Stor Handmade Furniture, a highly successful solid wood furniture shop specializing in bespoke, hand-made and hand-finished pieces. In 2023, Seth launched SBCraftsman, which offers spray finishing and small business consulting to private clients. Originally from Pennsylvania, Seth now resides in Aberdeen, N.J., and is a proud member of the Central Jersey Woodworkers Association.
I used the water bath method with gallon cans. However, we spray out of pressure pots and the air compressor is located outside. As a result, the cold exterior air sent to the pressure pot quickly negates the temp boost from the water bath and creates misperceptions of the paint’s viscosity.
This winter, we’ve struggled with dark colors with a a clear base. The cross ventilation in the spray booth makes the finish “skin over” and causes crazing. To prevent crazing, we have to immediately turn off the booth fan after spraying, which really slows down dry time. We can spray white bases under the exact same conditions and dried under cross ventilation in the booth with no problems.
Hi Matt,
Thanks so much for your comment and adding to our discussion on cold weather application with water based coatings. It is true that dark colors in the clear bases are more sensitive to cold and require special attention during this time of the year. These colors have lower resin counts per gallon due to the high volume of pigment necessary to get to such a dark color with excellent hiding capabilities. They benefit greatly from warmer application and drying temperatures as you well know at this point. I hope you can arrive at a solution that is cost effective and works for you. Thanks again for your comment.
-Seth Kline
I see. So resin must be removed to make room for the big dose of dark pigment. Thank you.
We decided to build a drying room connected to our spray booth. Creating a clean, temp controlled room will both decrease uneven drying issues due to fast air movement in the spray booth and enable us to boost spray time. Our spray booth currently doubles as a drying booth as wet parts can’t be pulled out into the shop space until they tack over. We also recently purchasing an infrared curing light which has been a huge help for getting small touch up jobs out the door quickly.
Sounds like great ideas for getting better dry times and a high quality finish. Thanks for sharing.
-SK